|
Install GuestOS ( DomainU )
|
| Install GuestOS ( DomainU ) in order to create it. For this example, I installded it in free space in a volume group. |
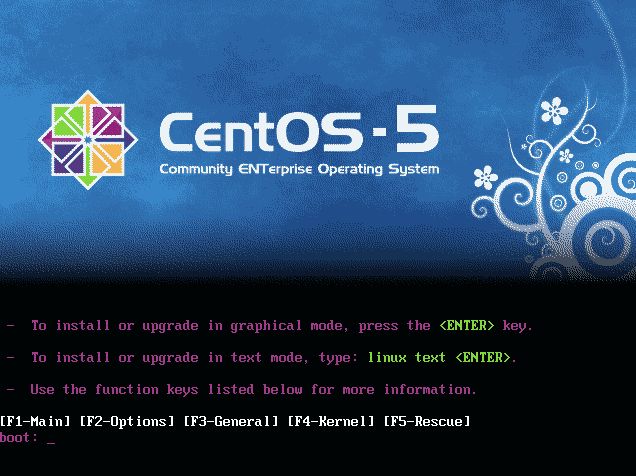
| [1] | Insert install disk and reboot system. Following screen is shown, then Push Enter key. |
|
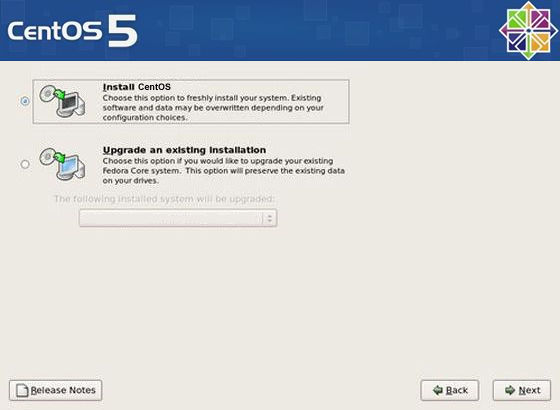
| [2] | Following screen is shown after you chose language and keyboard. Select 'Install CentOS' and Click 'Next'. |
|
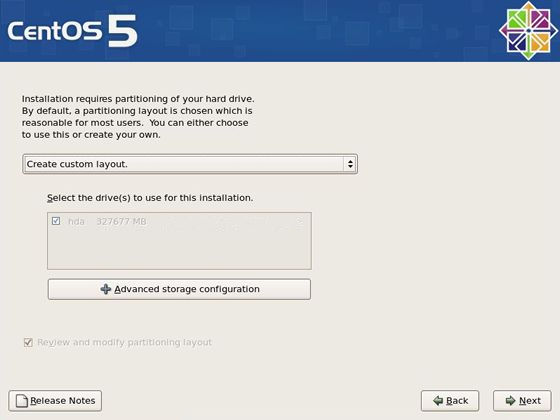
| [3] | Select 'Create custom layout' like following screen and go Next. |
|
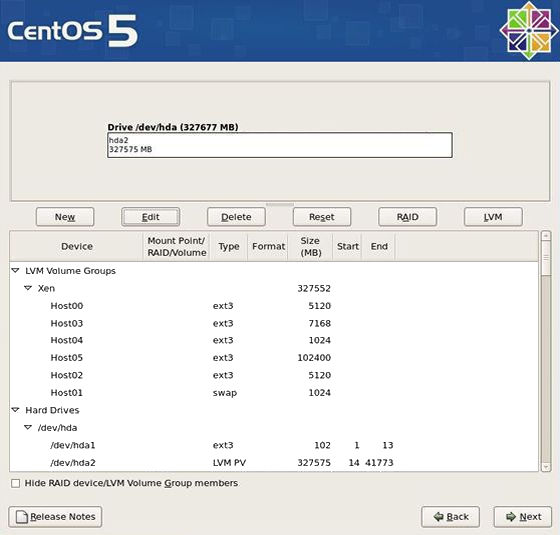
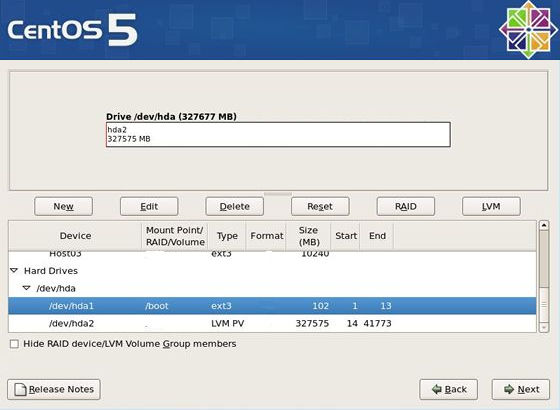
| [4] | This is the section you can modify partition layout. Select a volume group like below and Click 'Edit'. |
|
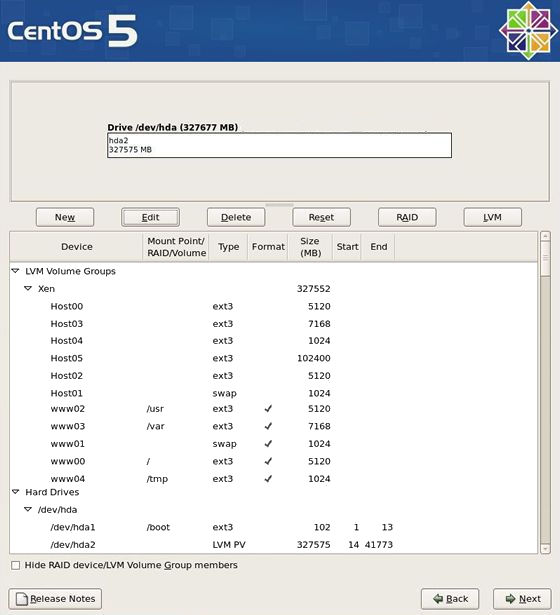
| [5] | Click 'Add' button that is located right side, then following secreen is shown. Add partition for guestOS like below. |

|
| [6] | Specify /boot partition as dammy because it's impossible to proceed to next. However, Do not format it, Keep current data. |
|
| Following example is the settings I did. | |
|
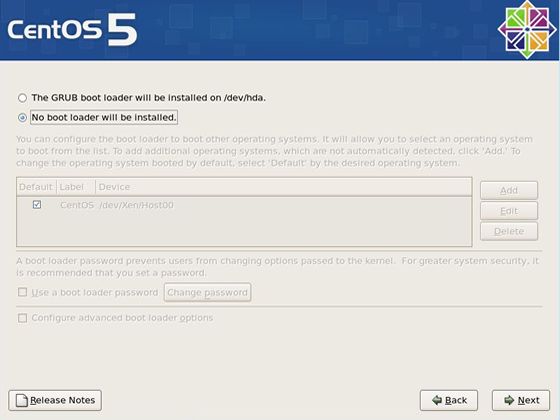
| [7] | This is the section for bootloader. Select 'No boot loader will be installed' and go next. |
|
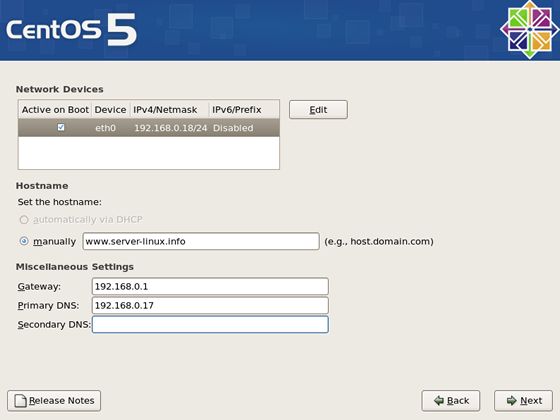
| [8] | Configure network settings. Specify defferent IP address from HostOS's one. |
|
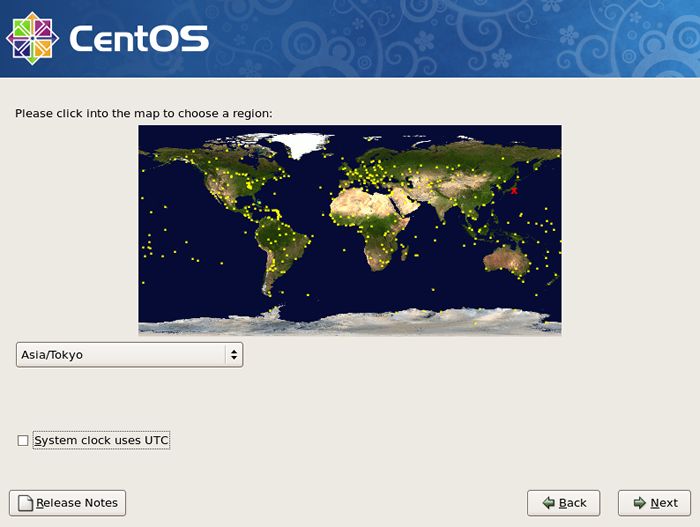
| [9] | Uncheck 'System clock uses UTC' and select your time zone. |
|
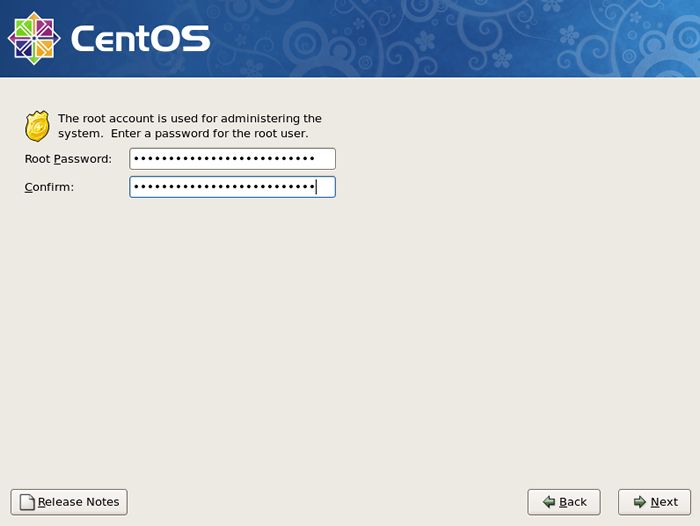
| [10] | Set root password and go next. |
|
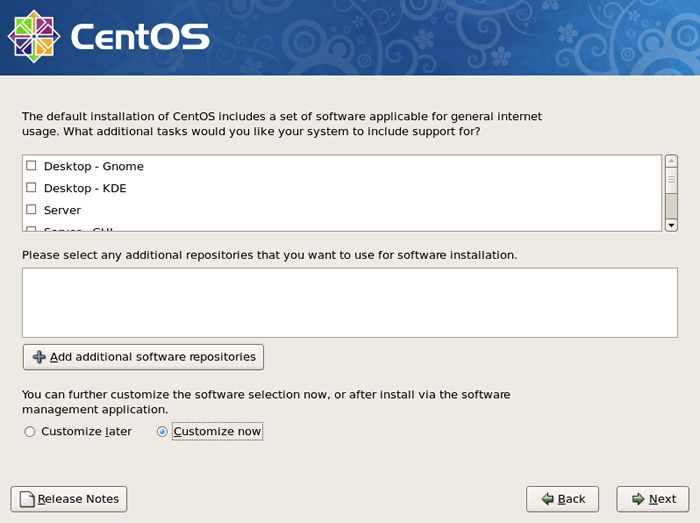
| [11] | This is the section you select softwares you would like to install. It's not recommended to install many softwares first. Check a box 'Customize now' and go Next. |
|
| [12] | Uncheck boxes all first. Next, check a box 'Development Tools' like following screen. This Tools, especially gcc, are often needed, so it's better to install now, I think. |
|
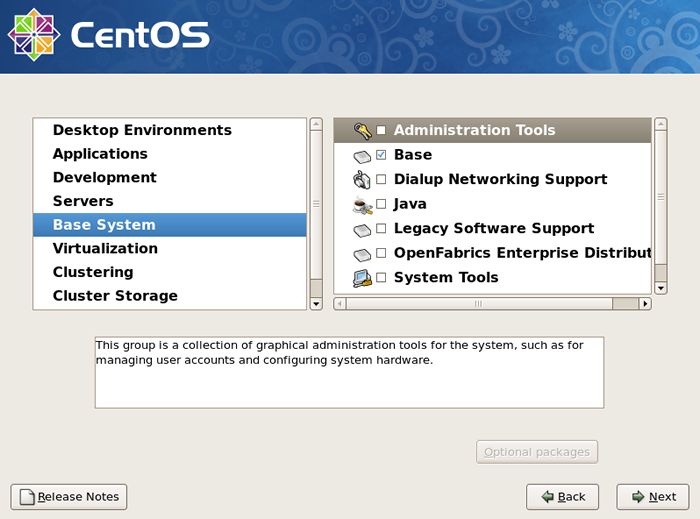
| [13] | Check a box 'Base' and go Next. And Click 'Optional packages' button. |
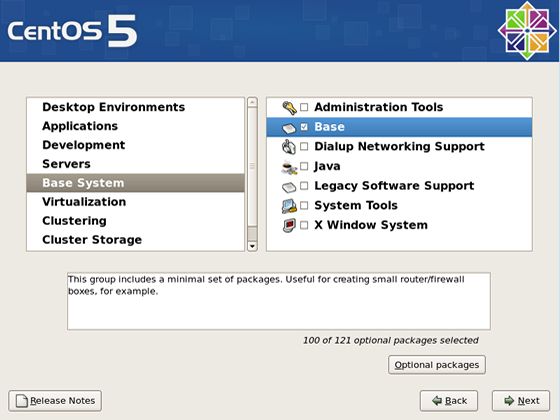
|
| [14] | Check 'bridge-utils' to install it. |
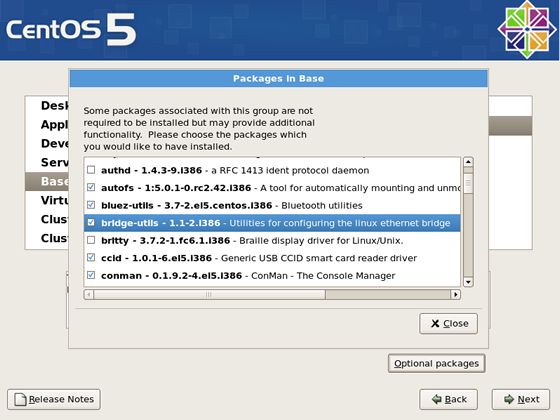
|
| [15] | Click next to begin installation. |
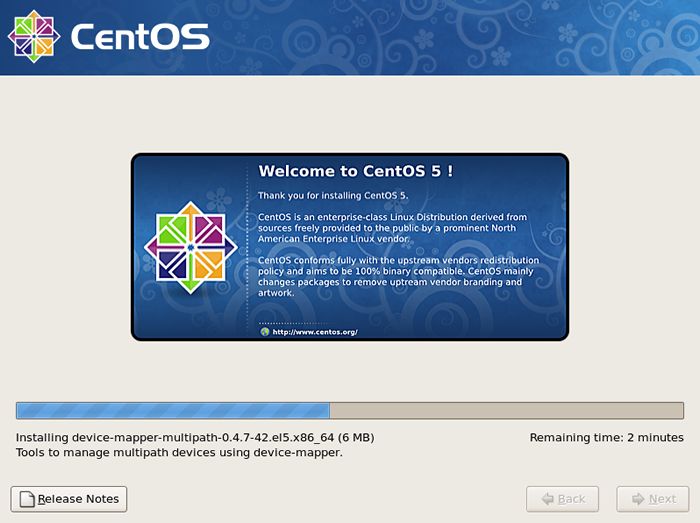
|
| [16] | Just being installed. |
|
| [17] | Installation finished. Reboot system. |

|